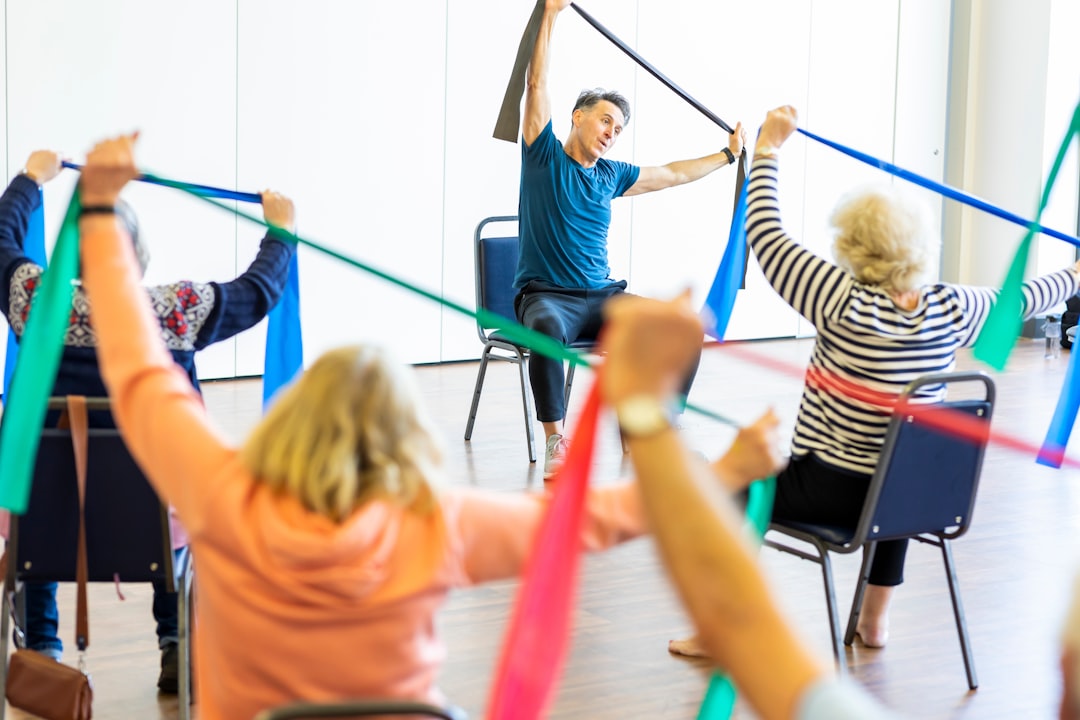
Physical therapy exercises for an injured rotator cuff are one of the most effective ways to reduce pain, restore shoulder movement, and get back to the activities you love — often without surgery.
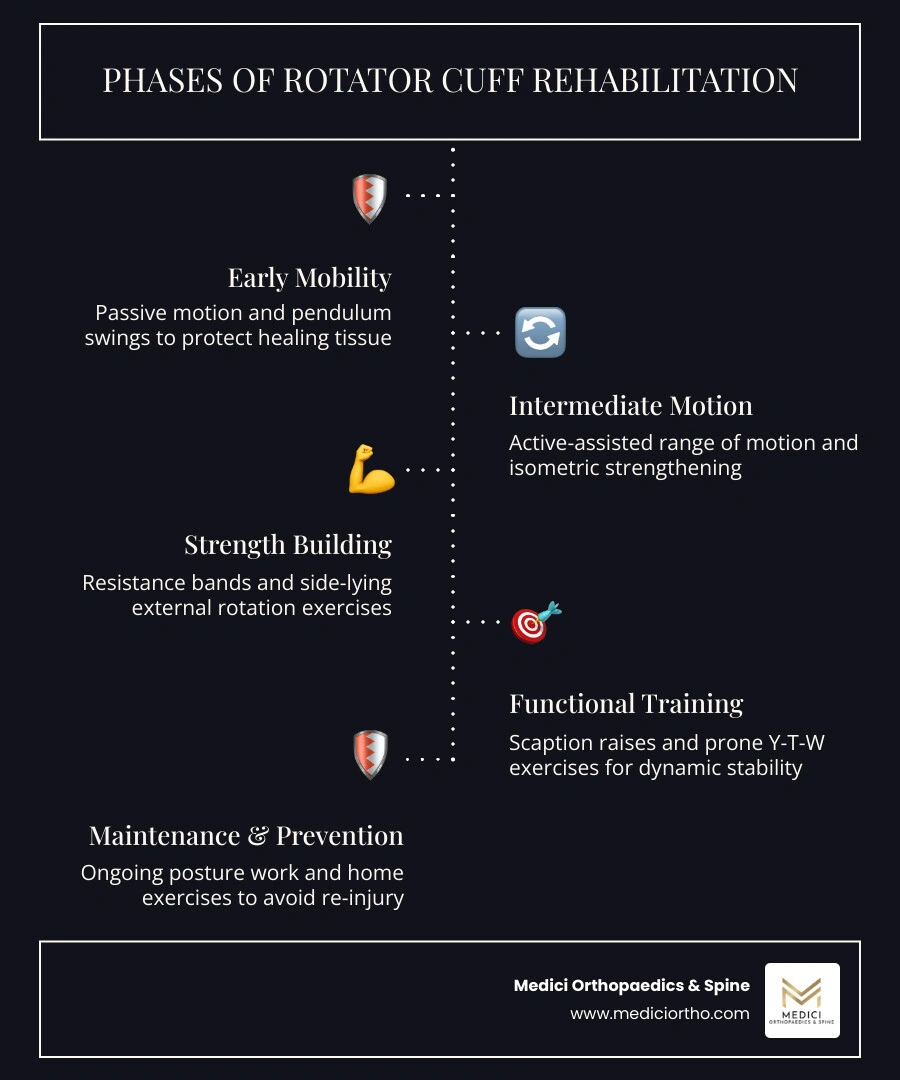
Here are the core exercises used in rotator cuff rehabilitation, organized by recovery phase:
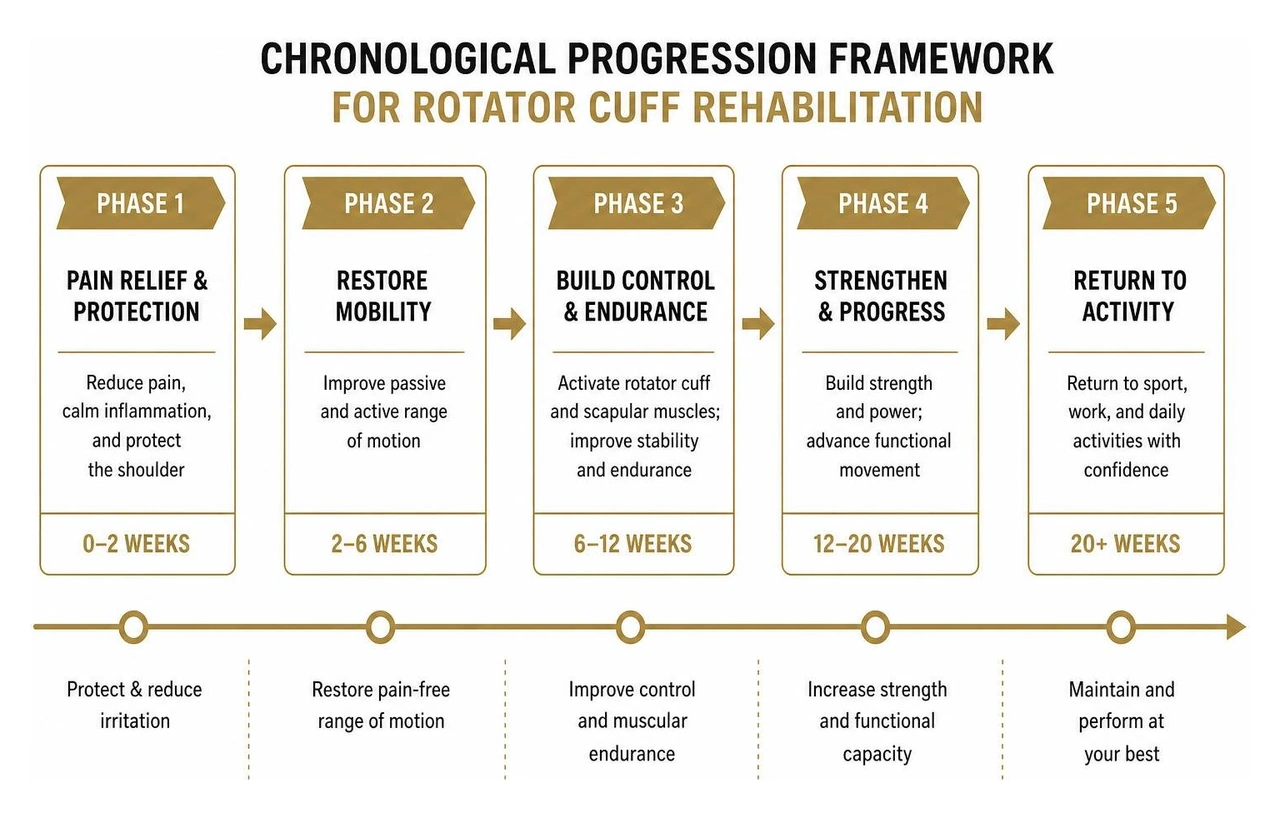
| Phase | Goal | Example Exercises |
|---|---|---|
| Early (Phase 1) | Protect tissue, restore passive motion | Pendulum swings, passive external rotation, table slides |
| Intermediate (Phase 2) | Rebuild active motion, begin strengthening | Wall slides, isometric flexion/extension, scapular squeezes |
| Advanced (Phase 3) | Build strength and function | Resistance band rotations, side-lying external rotation, scaption raises |
Rotator cuff injuries are extremely common. They affect athletes, desk workers, and older adults alike — anyone who uses their shoulder. The pain can make simple things hard: reaching for a shelf, sleeping on your side, putting on a jacket.
The good news? Research shows that people who follow a structured exercise program experience an average 68% reduction in shoulder pain within just 12 weeks. And approximately 75% of patients with full-thickness rotator cuff tears avoid surgery altogether with the right rehabilitation program.
But here's the catch: doing the wrong exercises at the wrong time can make things worse, not better. Recovery isn't just about which exercises you do — it's about doing them in the right order, at the right intensity, as your shoulder heals.
This guide walks you through exactly that.
I'm Dr. Sonny Dosanjh, M.D., board-certified in Physical Medicine & Rehabilitation and fellowship-trained in Multidisciplinary Pain Management at Emory University, with extensive clinical experience designing non-surgical recovery plans — including physical therapy exercises for injured rotator cuff conditions — for patients across Metro Atlanta. As the founder of Medici Orthopaedics & Spine, I'll help you understand how to progress safely through each phase of shoulder rehabilitation so you can rebuild strength without risking re-injury.
To understand why specific exercises are so critical, we first have to look at how your shoulder is built. The rotator cuff is a dynamic group of four muscles and their corresponding tendons that wrap tightly around the head of your upper arm bone (the humerus). These four muscles are:
Together, these muscles act as a stabilizing "cuff" that holds the ball of your humerus centered securely within the shallow glenoid socket of your shoulder blade. When you experience an injury — whether it is acute tendinitis, a painful partial tear, or a degenerative full-thickness tear — this stabilizing mechanism is disrupted. The shoulder blade (scapula) may begin to move abnormally, a condition known as scapular dyskinesis, which further pinches the injured tendons.
This is where targeted rehabilitation comes in. The primary goals of physical therapy are not simply to make the shoulder "stronger," but to strategically restore balance to the entire shoulder girdle. This involves:
To achieve these goals safely, physical therapy utilizes a deliberate progression of three distinct types of movement. To learn more about how we structure these interventions, explore our dedicated resource on physical therapy for rotator cuff injuries.
| Exercise Type | What It Means | Muscle Activation | Best Used For |
|---|---|---|---|
| Passive Exercises | An external force (your other arm, a cane, or a therapist) moves your injured arm. | No active muscle contraction from the injured shoulder. | Early phase; protecting healing tissue while preventing joint stiffness. |
| Active-Assisted (AAROM) | Your injured muscles help move the arm, but receive assistance from a tool or your other arm. | Mild to moderate muscle activation. | Intermediate phase; transitioning safely from passive motion to active lifting. |
| Active Exercises (AROM) | Your injured arm moves entirely under its own power against gravity or resistance. | Full muscle activation of the rotator cuff and surrounding stabilizers. | Advanced phase; rebuilding strength, endurance, and functional capacity. |
At Medici Orthopaedics & Spine, we emphasize that tissue healing dictates your recovery timeline, not a calendar. Progressing too quickly through physical therapy exercises for an injured rotator cuff can overload the fragile, healing collagen fibers of your tendon, resulting in a painful setback.
We use pain as our primary guide. While mild discomfort or a "stretching" sensation is normal during therapy, you should never experience sharp, stabbing pain. If an exercise causes your baseline pain to spike or lingers into the next day, it is a sign that the tissue is not yet ready for that load.
Below is our clinically proven, phased exercise guide designed to take you from acute pain to functional strength.
The focus of Phase 1 is protection and gentle mobility. If you have recently suffered an acute tear or are recovering from surgery, the tendon is highly vulnerable. We want to move the joint to prevent stiffness and promote blood flow, but we must do so without actively contracting the injured rotator cuff muscles.
This is the gold standard for early-stage mobility because it uses gravity to gently distract (widen) the joint space, providing natural pain relief.
This exercise restores outward rotation without engaging the infraspinatus or teres minor.
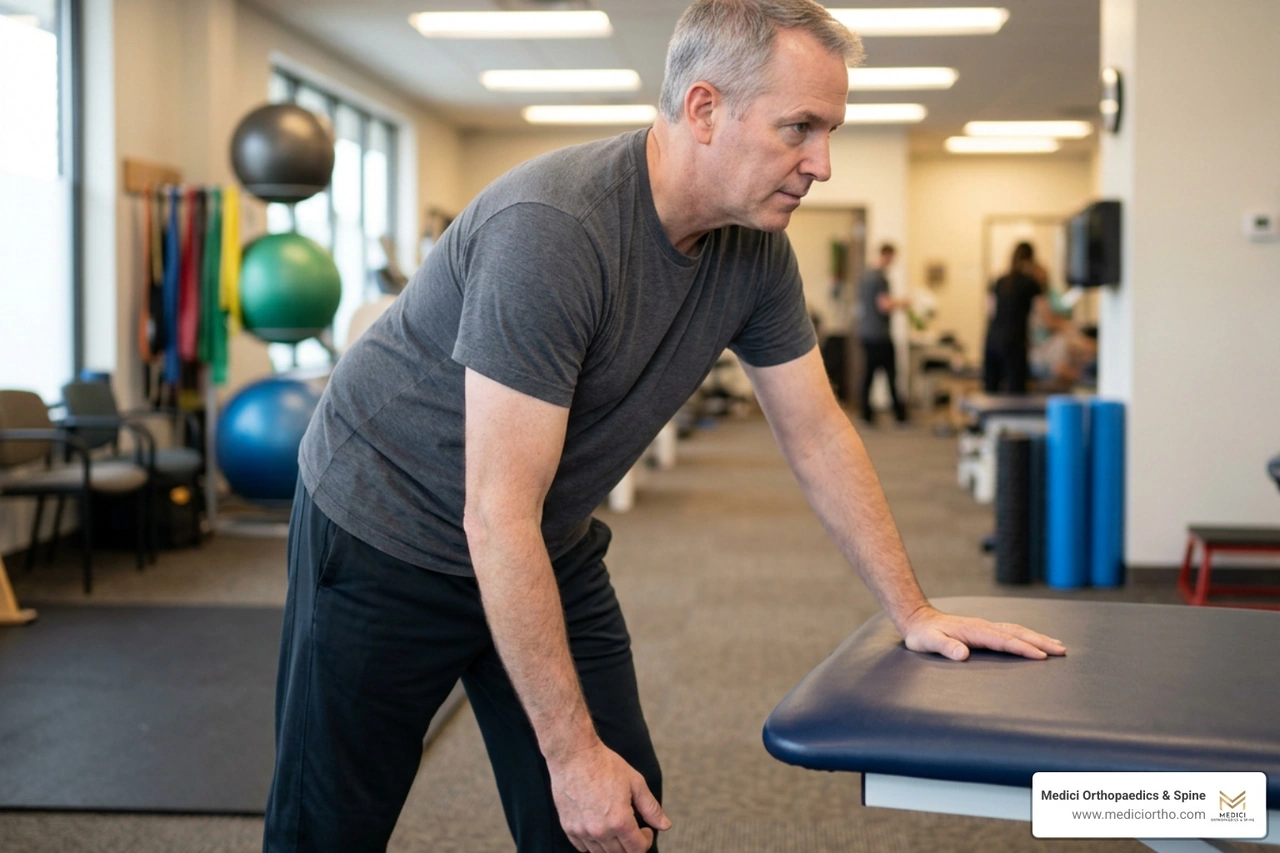
Table slides are an excellent, low-stress way to begin restoring forward elevation (flexion).
For a comprehensive look at structured conditioning frameworks, you can review the AAOS Rotator Cuff and Shoulder Conditioning Program.
Once your passive range of motion has improved and your acute pain has subsided, you can transition to Phase 2. Here, we begin introducing active muscle activation using isometrics — exercises where the muscle contracts but the joint does not move. This builds baseline strength without placing shearing forces on the healing tendon. To read more about non-surgical rehabilitation strategies, check out our guide on how to recover from a rotator cuff injury without surgery.
This exercise helps transition your shoulder to lifting against gravity by using the wall to slide and reduce the load.
This foundational exercise targets the middle trapezius and rhomboids, stabilizing the shoulder blade to create a solid base for the rotator cuff.
You are ready for Phase 3 when you can lift your arm overhead with minimal to no pain and have solid control over your shoulder blade. In this phase, we introduce isotonic exercises (active movement against resistance) to rebuild the muscle tissue and prepare your shoulder for daily lifting, sports, and overhead work.
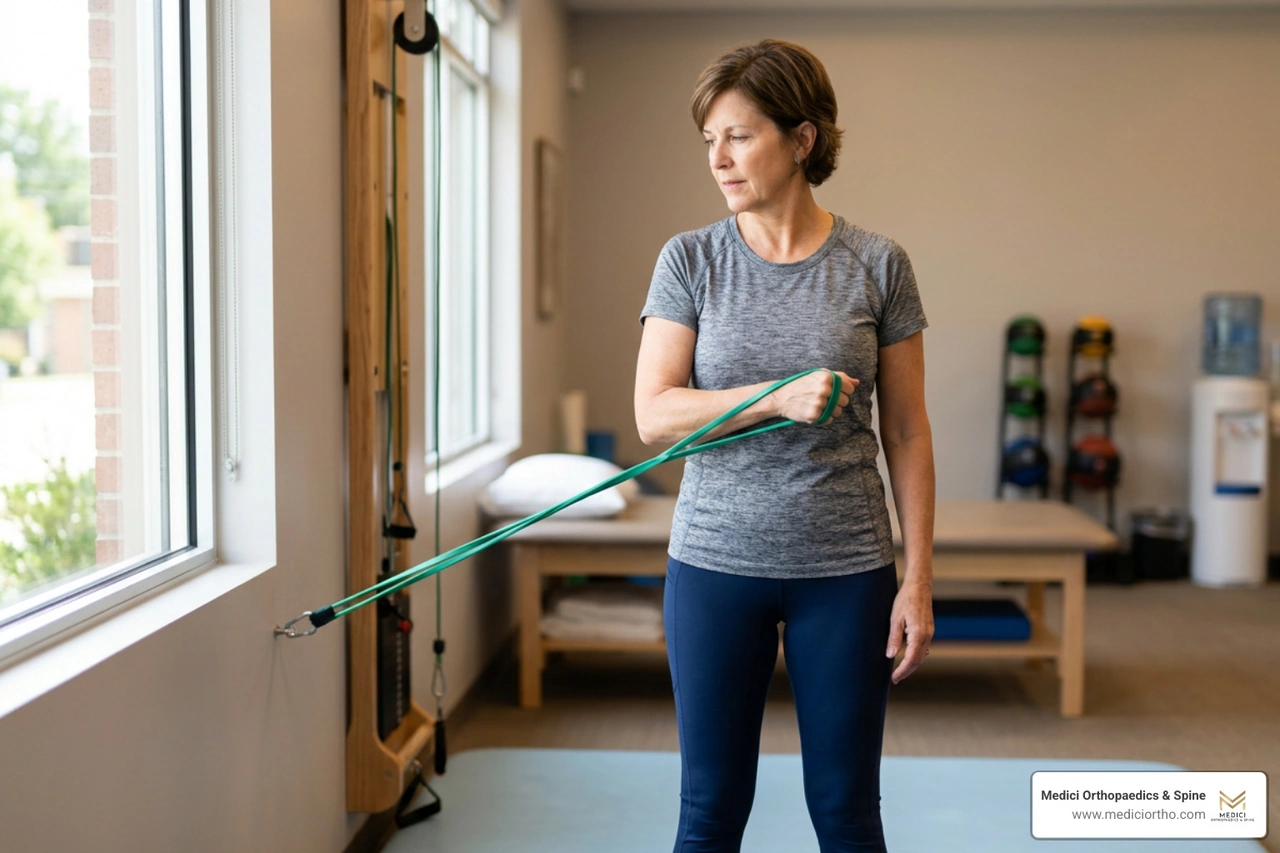
This targets the infraspinatus and teres minor, which are crucial for preventing shoulder impingement during overhead movements.
This targets the subscapularis, the powerful stabilizer on the front of your shoulder.
Research shows this is one of the most effective exercises for isolating the external rotators while minimizing the involvement of the larger deltoid muscle.
These exercises are fantastic for strengthening the lower trapezius, rhomboids, and posterior rotator cuff simultaneously.
Lifting your arms in the "scapular plane" (about 30 degrees forward of a straight side raise) places the least amount of mechanical strain on the supraspinatus tendon.
For specialized protocols concerning complex or larger injuries, clinicians and patients can refer to the MGH Rehabilitation Protocol for Non-Operative Massive Rotator Cuff Tears.
Transitioning your physical therapy exercises for an injured rotator cuff to a home environment is a great way to stay consistent, but it requires strict attention to form. Without a physical therapist watching every rep, it is easy to slip into bad habits that can irritate your joint.
When performing your home exercise program, keep these essential safety guidelines in mind:
By maintaining proper form and avoiding overhead movements in your daily routine until your shoulder is ready, you can protect your joints. To learn more about protecting your shoulders during active movements, read our article on how to prevent rotator cuff injuries during sports.
The recovery timeline for a rotator cuff injury varies significantly based on the type and severity of the damage, as well as your overall health:
For more details on what to expect during non-surgical recovery, see our comprehensive guide on how long does it take to recover from a rotator cuff injury without surgery.
During your recovery, certain movements place excessive stress on the healing tendons and should be strictly avoided until your shoulder is fully rehabilitated:
While mild muscle soreness is a normal part of physical therapy, certain "red flag" symptoms indicate that your injury may require advanced medical intervention beyond exercise alone. You should seek a specialist's evaluation if you experience:
If you are experiencing these symptoms, you may need to consult an orthopedic specialist to discuss advanced diagnostics or regenerative treatments. Learn more about your options in our article on who treats shoulder pain when physical therapy is not enough.
Rehabilitating an injured rotator cuff is a journey that requires patience, consistency, and a structured approach. By progressing carefully from gentle passive mobility to targeted strengthening exercises, you can rebuild a stable, resilient, and pain-free shoulder.
Even after your pain has resolved, continuing a simple maintenance routine of rotator cuff and scapular exercises just 2 to 3 days per week is one of the best investments you can make for your lifelong shoulder health, posture, and physical longevity.
If you are struggling with persistent shoulder pain, stiffness, or weakness, you do not have to navigate recovery alone. At Medici Orthopaedics & Spine, our team — led by Dr. Sonny Dosanjh, M.D. — is committed to helping you optimally restore your quality of life. We specialize in integrated, patient-centered care, offering cutting-edge, non-surgical treatments that work synergistically with physical therapy to help you avoid surgery and get back to living life without limits.
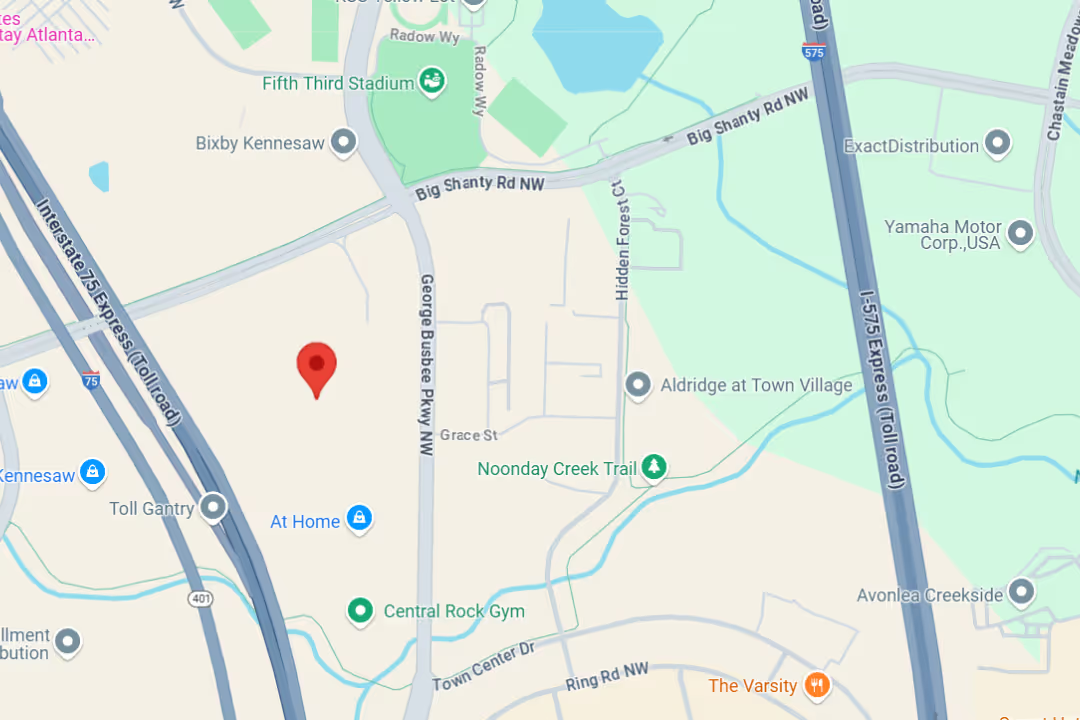
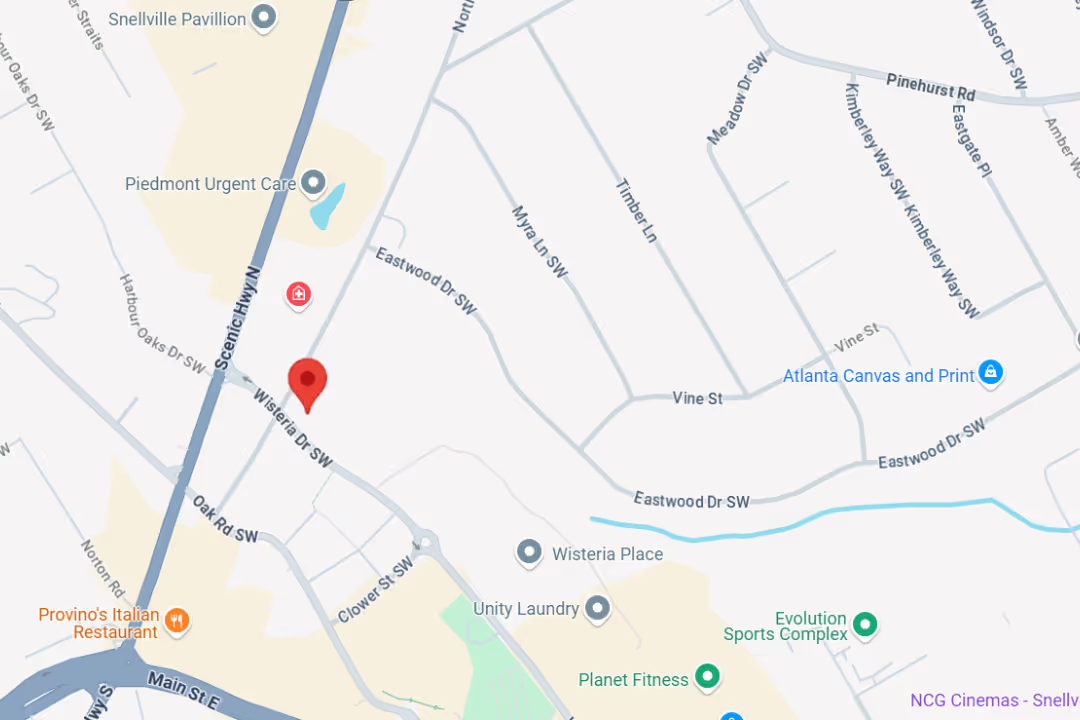
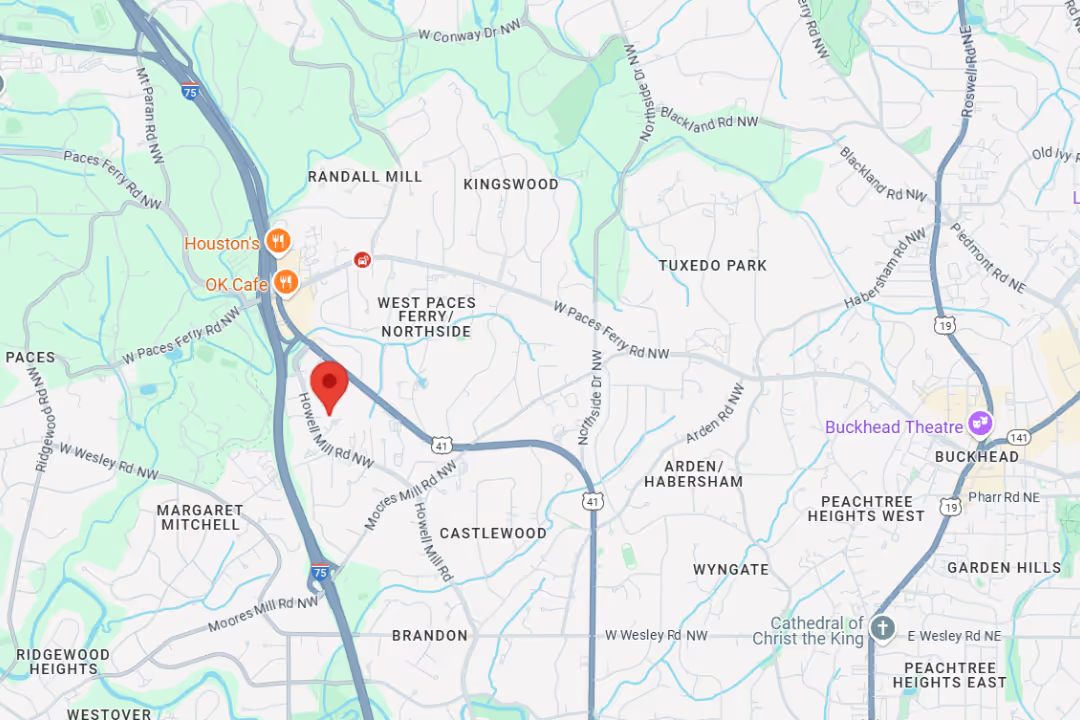
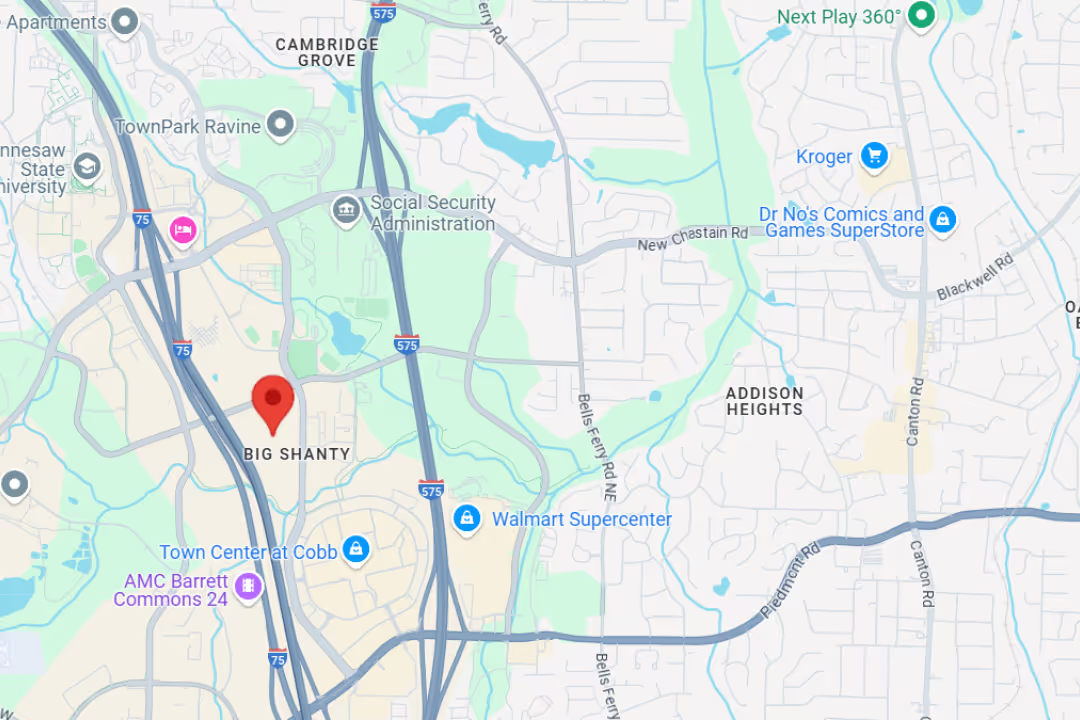
We proudly serve patients across Metro Atlanta with convenient locations in Marietta, Snellville, Kennesaw, Buckhead, and Atlanta.
Ready to take the first step toward lasting relief? Schedule a consultation for non-surgical rotator cuff treatment with us today. Let's work together to restore your strength, mobility, and quality of life.
At Medici, you’re more than your MRI.
We take time to hear your story, understand your pain, and create a plan that actually works for you.

Our team delivers specialist care at convenient locations across Metro Atlanta:
Get expert tips on injury recovery, pain relief, joint health, and movement strategies—straight from our Fellowship-Trained team.